Constructing Belts
Summary
In this tutorial we will learn how to create belts.
Creating a belt from scratch
Click and drag to create the first pulley. When we do this Mekanimo automatically hinges the pulley for us as shown in Figure-2. Now go ahead and create the second pulley by clicking and dragging as well. Upon creation of the second pulley Mekanimo completes the belt as shown in Figure-3.
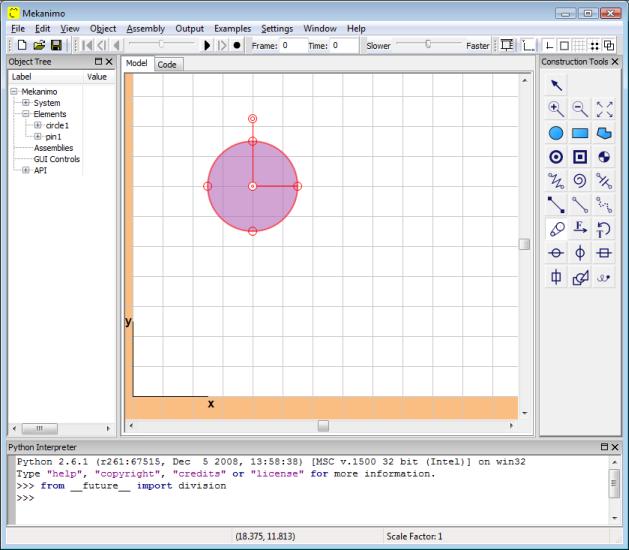
Figure-2

Figure-3
Creating a belt by using existing circles
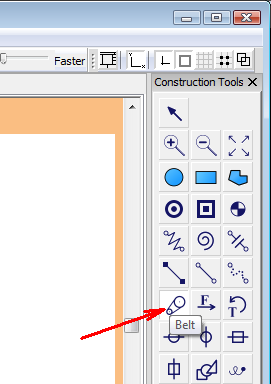
If you would like the existing circles to be a part of the belt you create, you can simply click on these existing circles. If the circle has already a hinge or a motor connector Mekanimo uses these, if not it creates a hinge at the center of the circle. Now, click on the circle tool to change the canvas mode to CIRCLE. Create a circle by clicking and dragging. Then place a motor on the circle as shown in Figure-4. Then create another circle as shown in Figure-5. Click on the belt tool to change the canvas mode to BELT. Click on the first circle to select the first pulley. Then click on the second circle to finish the belt. Mekanimo automatically places a hinge at the center of the circle and creates a belt as shown in Figure-6.
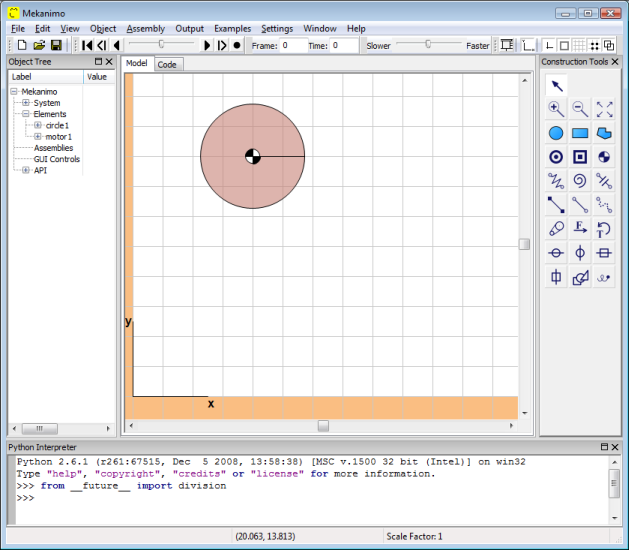
Figure-4
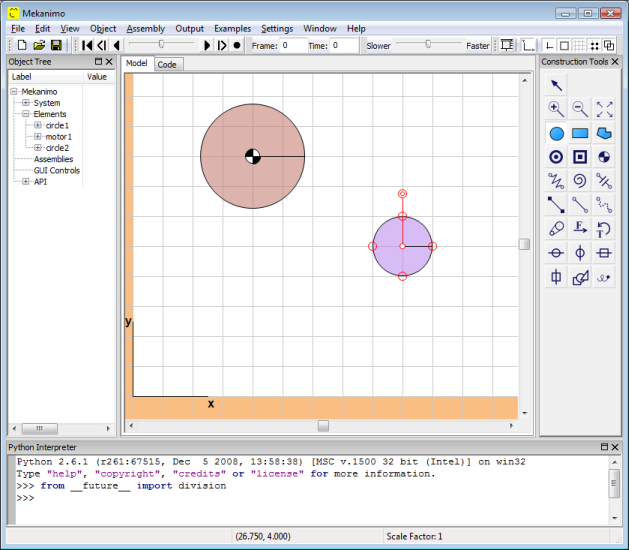
Figure-5
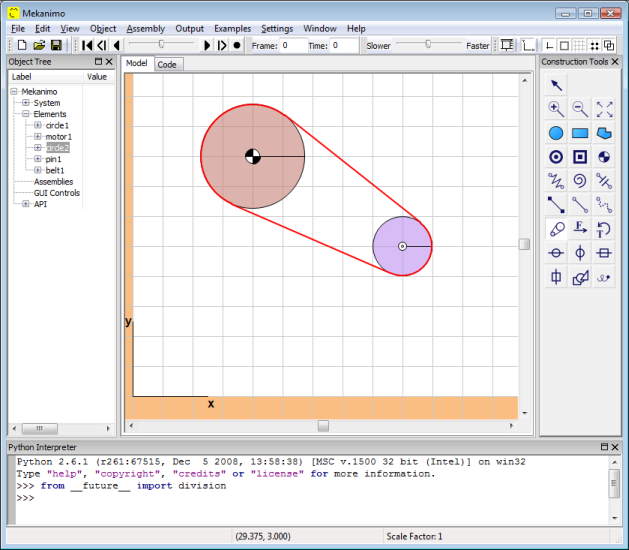
Figure-6
Adding more pulleys
It is possible to create connected belts to simulate complex mechanisms. Create a third circle as shown in Figure-7. Then click on the belt tool to change the canvas mode to BELT. Then, click on the second circle and the third circle to create the second belt as shown in Figure-8.
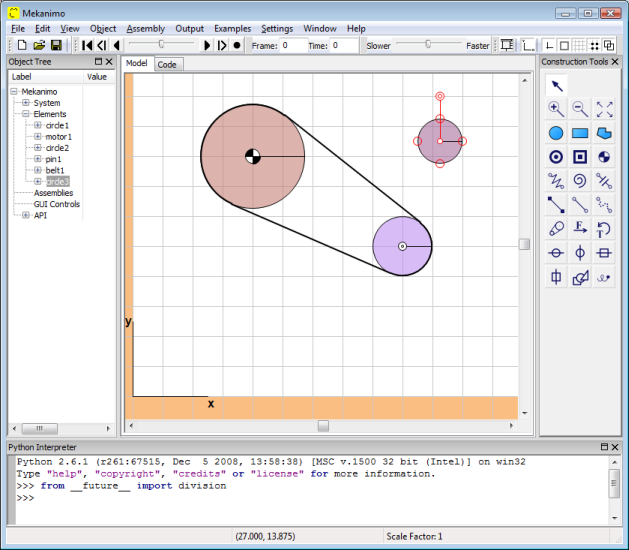
Figure-7
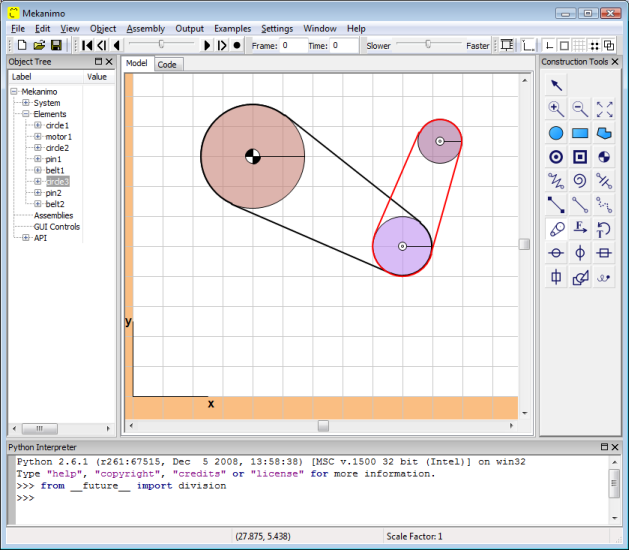
Figure-8
Cross-belts
Once you create a belt, you can change it to a cross-belt by double-clicking on the cross property from the object tree as shown in Figure-9. To reverse the rotation of a motor you can assign a negative rpm value from the object tree or from the Python interpreter. To simulate gears, you can create tangential pulleys and then set the visibility property of the belt to False.
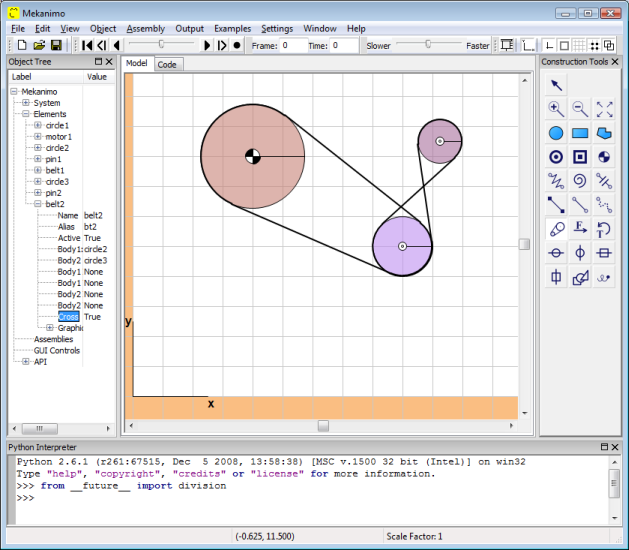
Figure-9
