Object Tree
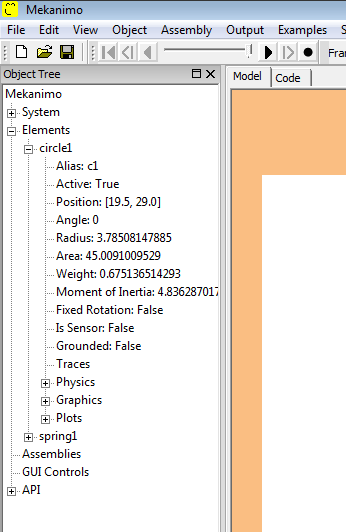
Object tree is located at the left hand side of the main screen(see Figure 1) and used for both exploring the objects in the current model and modifying object attributes. Via object tree you can:
- Explore elements’ properties
- Select elements
- Rename elements
- Change attributes
- Delete elements
- Plot results
- Explore classes and elements’ class hierarchy in Mekanimo’s API

Figure 1: Object tree
When a new element is created, Mekanimo automatically inserts the appropriate node into the object tree along with other nodes corresponding to the attributes of the object in question. These attributes can be modified by clicking on a selected node. When an attribute is modified, Mekanimo generates the corresponding code and appends it into the code editor. When an object’s attributes are modifed from the canvas, Python interpreter, or the code panel, these changes are reflected in the object tree.
Note
Attributes with boolean values (True or False) can be modified by double-clicking on them.
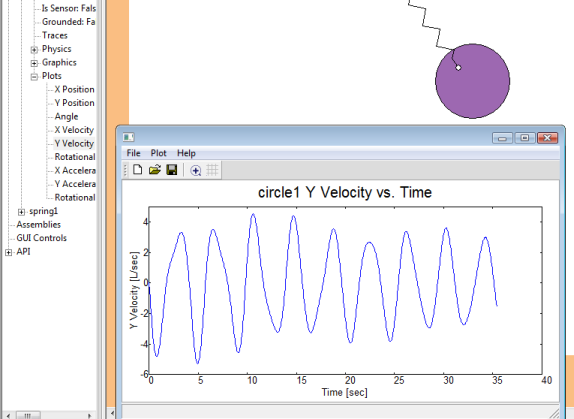
After running an analysis you can double click on any of the plots under the Plots node would bring up the corresponding plot as shown in Figure 2.

Figure 2: Y Velocity plot
Adding objects to the object tree is a slow process. When you create a lot of objects via scripting, in some cases you may want to supress creation of object tree nodes to increase the response time. Creating a circle and adding it into the system without creating an object tree node is shown below as an example.
>>> c = Circle(20, 15, 3)
>>> system.addElement(c, noTreeNode=True)
In addition to exploring the elements in the system, scripting API (list of classes and their methods and attributes) and elements’ class hierarchy can be explored from the object tree as well (see Figure 3).

Figure 3: Exploring the API
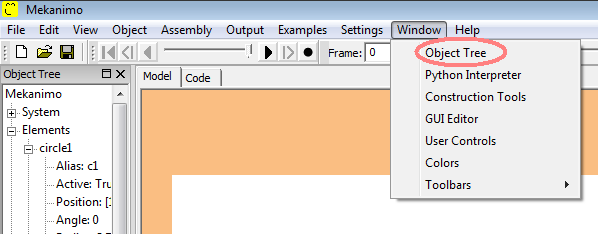
Object tree can be hidden or shown via Window menu (see Figure 4)

Figure 3: Hide/show object tree
